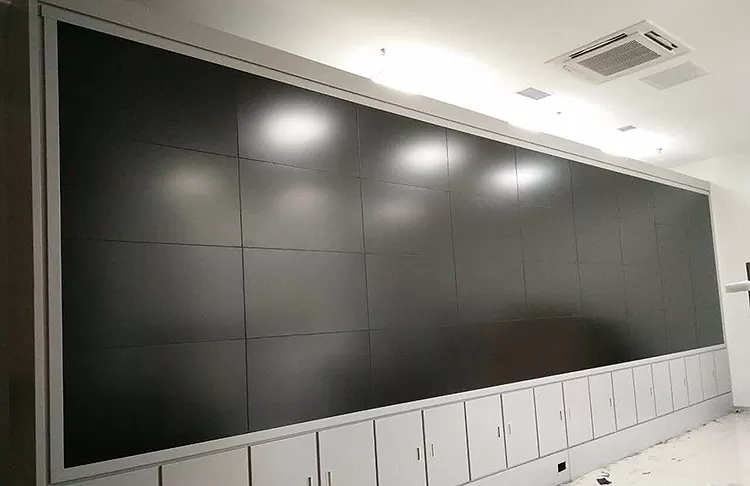
With the rapid development of the LCD video wall market, we can see it everywhere in our daily life. Unlike before, it is only used in some law enforcement and supervision departments.
Now, some enterprises, schools, hospitals and other public places have their own monitoring and display system, and LCD splicing screen is the best display device.
Today, we will analyze some basic skills of LCD installation to ensure the smooth progress of the entire installation process.
In the selection of installation methods, LCD video walls include bracket type, cabinet type, wall-mounted type, front maintenance, etc. The corresponding installation method is selected according to different installation locations. In addition, factors such as space, wall and cost must be considered. The points are different for each project, so treat them differently.
1. Connection of tie rods
When the LCD video wall is installed with cabinets and brackets, usually in order to make the front screen more stable, a pull rod is pulled between the back and the wall, and the installation connection of the bracket fixing pull rod is the most important. Once the pull rod is fixed, the screen It is quite easy and safe to install, and the panel debugging is also convenient and quick.
Because the LCD video wall is top-heavy, it is not as stable as the DLP splicing screen, and it cannot maintain its own balance. The verticality of the system is also not guaranteed without the help of fixed tie rods. Therefore, during installation, the fixing rod should be installed after adjusting the base bracket and before hanging the panel.
This can not only ensure the verticality of the entire system, but also ensure the stability of the entire system.
In addition, the fixed pull rod must be fixed backward, and there is a backward pulling force to ensure the stability of the system.

2. Adjust the flatness of the screen
Since all LCD splicing screens are spliced together, it is easy to cause unevenness in the front and back, so this requires technicians to adjust later. Before adjusting the flatness of the panel, you can adjust the adjustment screws of the flatness of all panels to the screw adjustment range. , and then start to adjust the flatness of the panel. Ensure that each corner of the panel has a certain adjustment range to the greatest extent, and there will be no situation where the adjustment screws of individual panels cannot be adjusted at the end.

3. Installation of LCD video wall panel
Under normal circumstances, the installation of the LCD video wall panel is not special. The panel can be raised beyond the support bar and then lowered. But what if there is no space above the installation? In this case, you can first hang the two hanging rods behind the panel on the load-bearing crossbar of the bracket, then lift the panel to the installation position, and then let the person behind you screw the screws between the hanging rod and the panel. That's it.
Note that when the LCD video wall is installed, the screen and the screen are not tightly attached, and a gap needs to be left, which is about the thickness of A4 paper. After you install it, you can use A4 paper to test to see if it passes smoothly.
Although the technology of LCD splicing screen has been very stable, its screen is still a fragile product, so our installers must be extra careful when working to prevent the screen from being damaged, resulting in serious economic losses.


